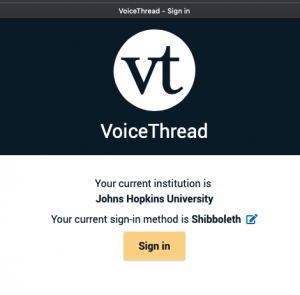
JHU’s VoiceThread browser-based platform transitions to the New VoiceThread in Summer 2024. This page presents some of the features we want you to learn about plus some additional resources to learn more.
Comparison
A side-by-side look at features that are new and those that are remaining
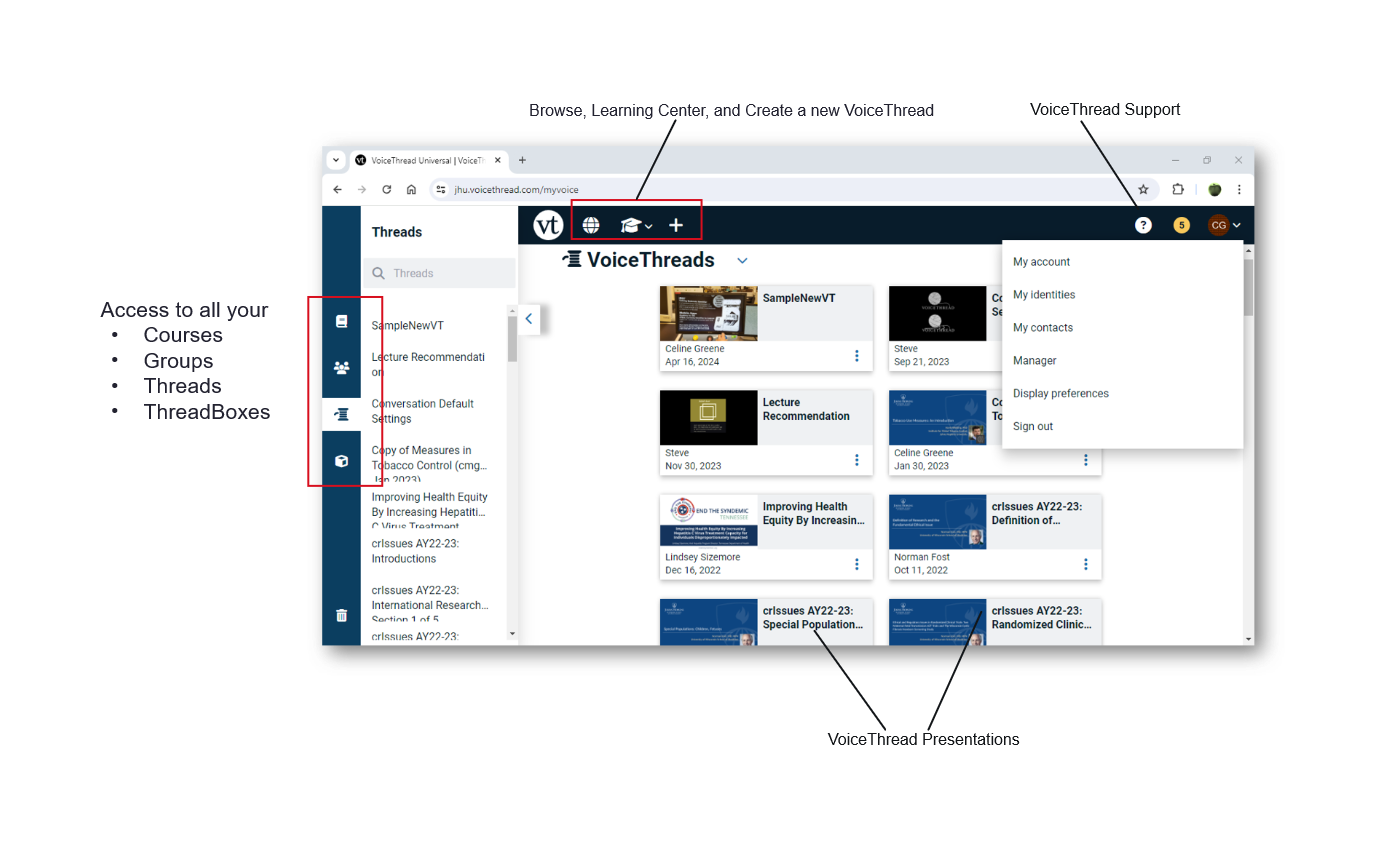
HOME (My Voice) Page
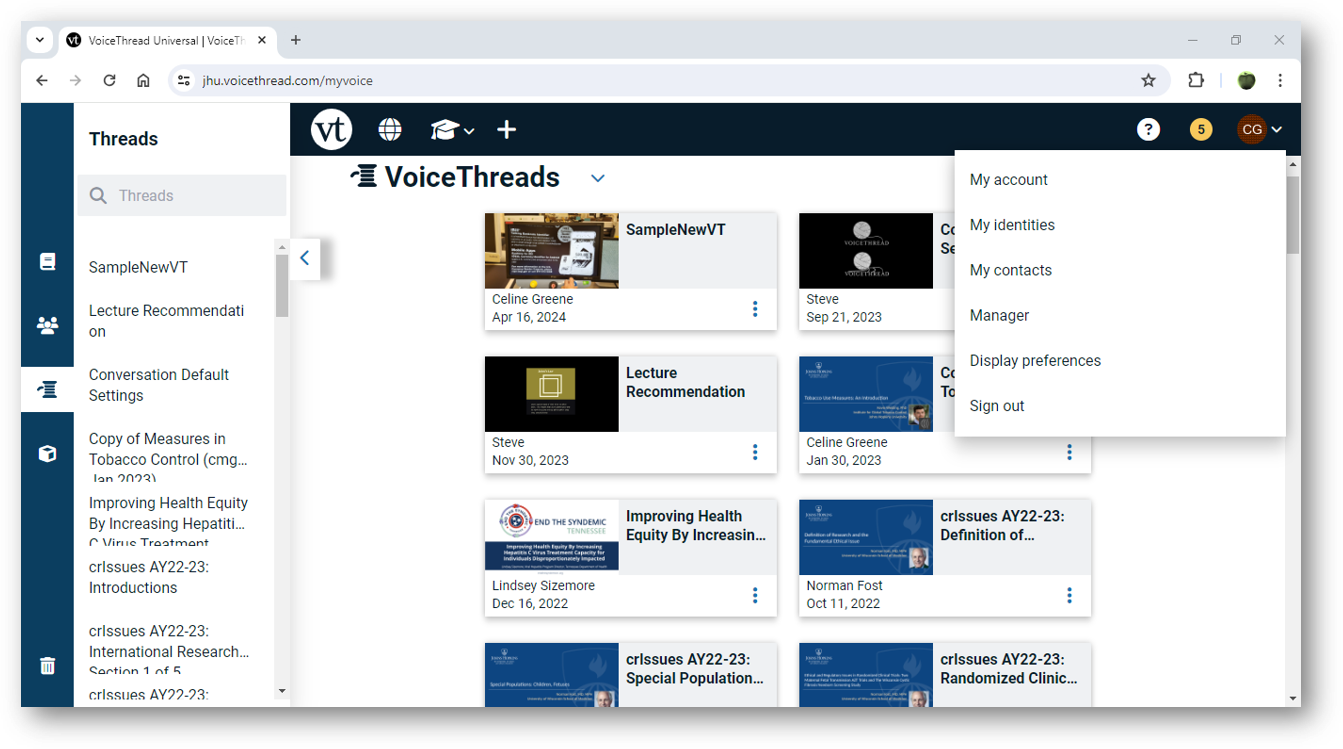
The layout is cleaner.
Legacy HOME (My Voice) Page
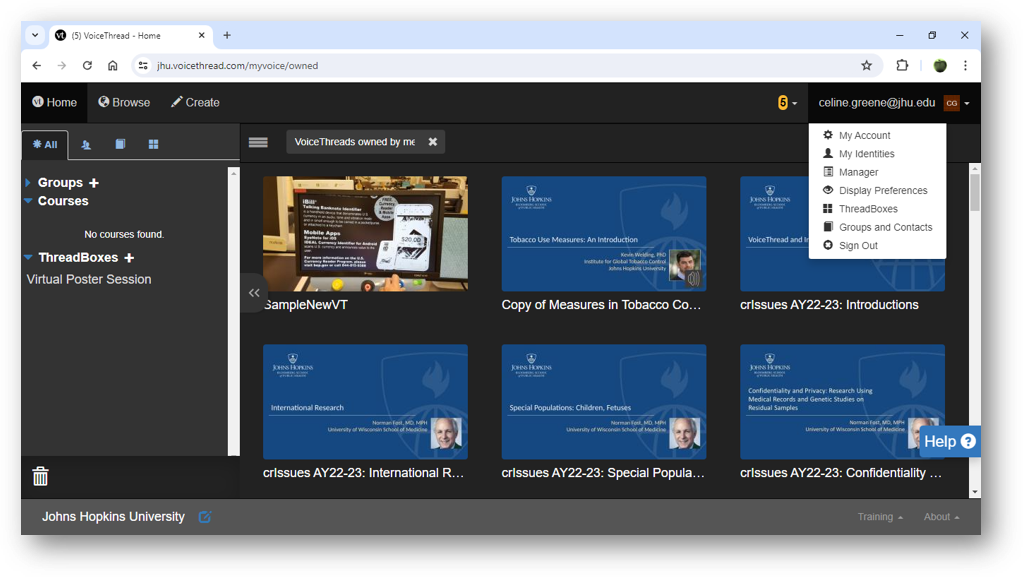
This layout is going away.
Features that are new:
- Search by course, group, or ThreadBox
- Sort presentations by activity date
- The VoiceThread Learning Center (case studies, research, blog, tutorials, etc.) can be accessed via the graduation cap icon in the horizontal, top navigation bar
- Left-side navigation panel now displays a list of all VoiceThreads in an alternate, compact view
Features that are staying:
- Browse all public VoiceThreads in JHU domain
- Search by presentation title
- Sort presentations by date created and title
- Filter VoiceThreads by owned, shared, subscribed
- View VoiceThreads by list or thumbnail images
- Left-side navigation panel allows display of groups, courses, and ThreadBoxes
- Number of “recent activity” comments linking to a drop-down
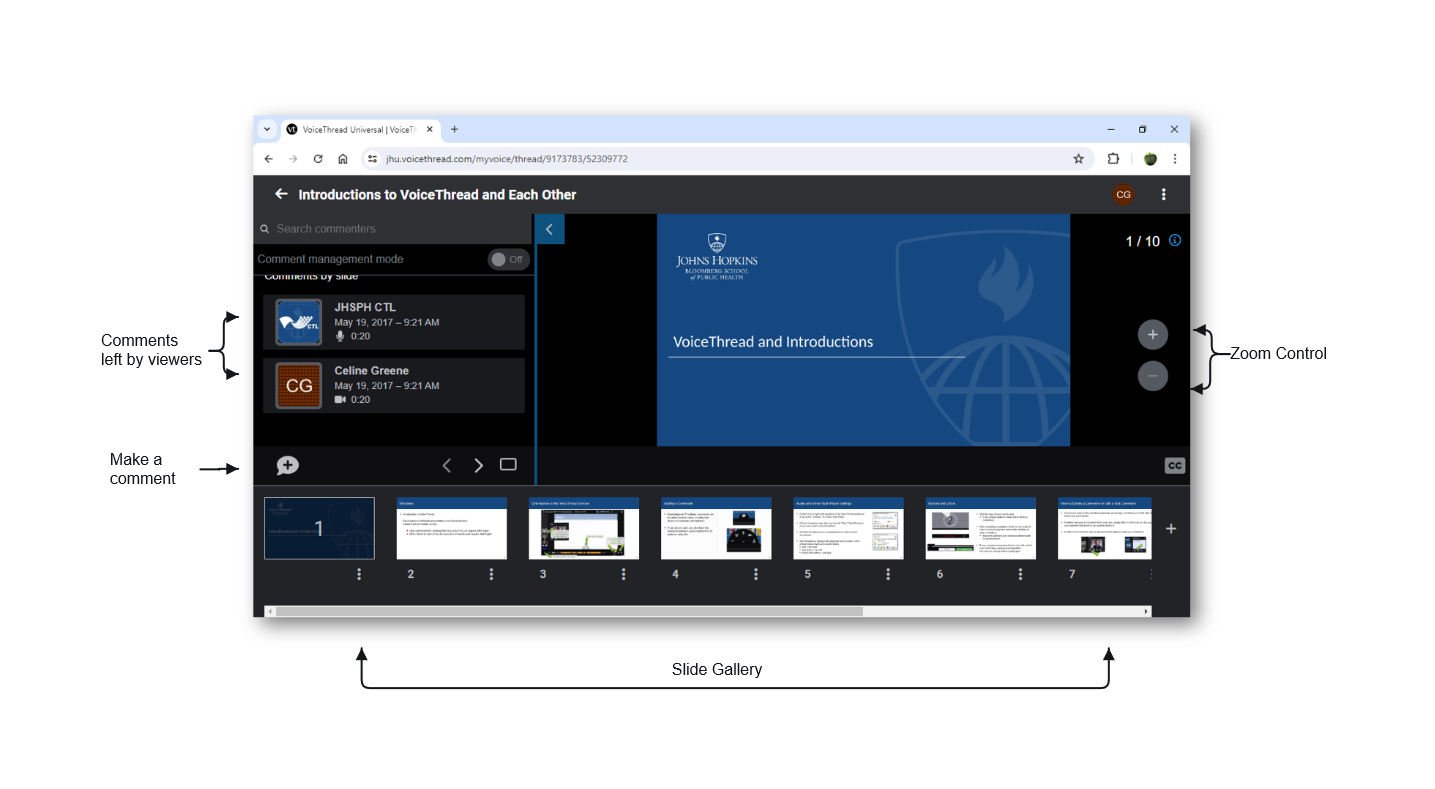
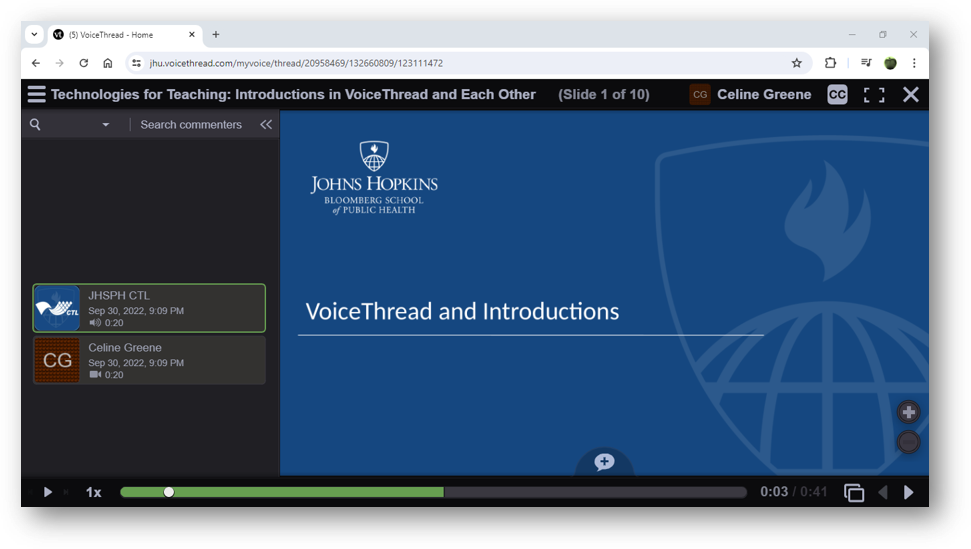
OPEN Presentation View
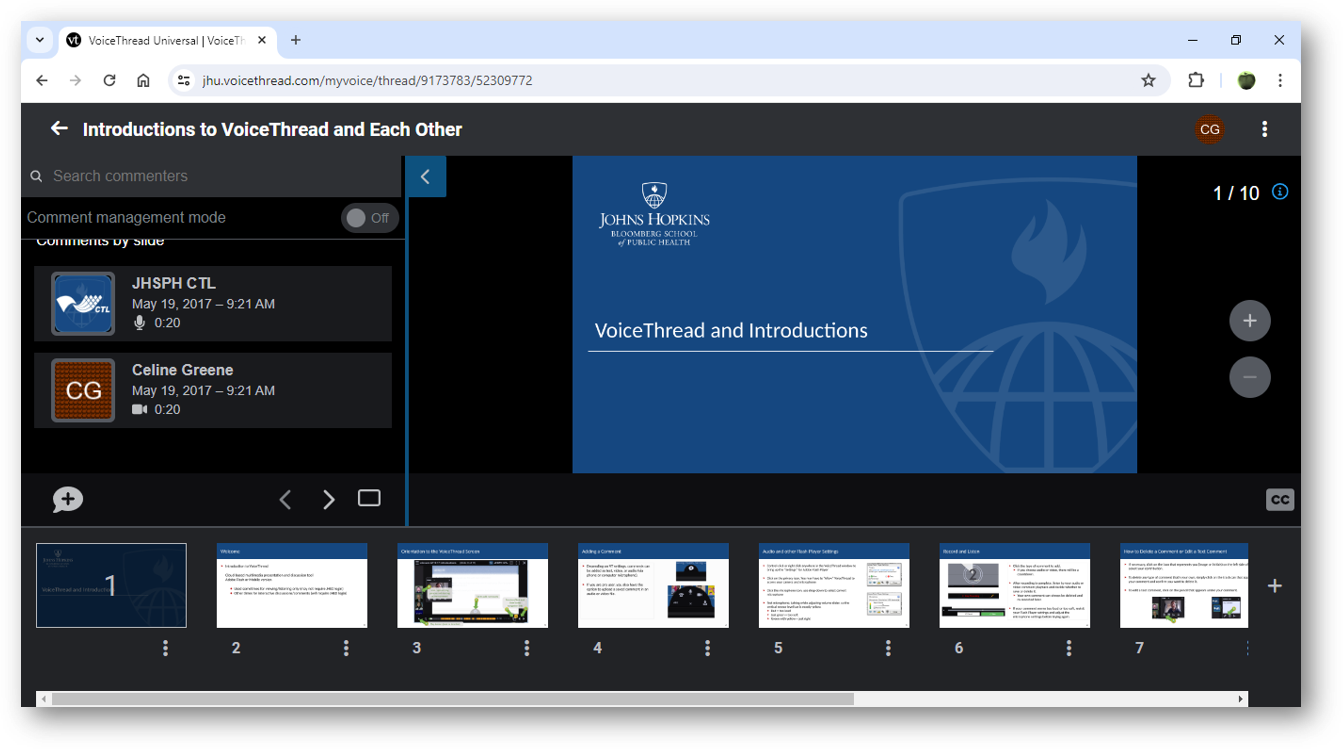
The new layout includes the collapsible gallery of slides.
Legacy OPEN Presentation View
The legacy layout included a comment’s play bar across the entire display. Viewing the gallery of slides meant going to a different view.
Features that are new:
- Manage multiple comments at once
- Switching on “One conversation” (threaded across all slides) comments view
- Zoom, pan, and easily navigate (one-click) to any other slide while commenting
- Streamlined gallery view of the slides’ thumbnails while viewing an individual slide
- Copy a link to an individual comment
- Upload caption files
Features that are staying:
- Traditional “comments per slide” view
- Annotate while commenting
- Automatically caption files and edit them
CREATE/Edit a Presentation
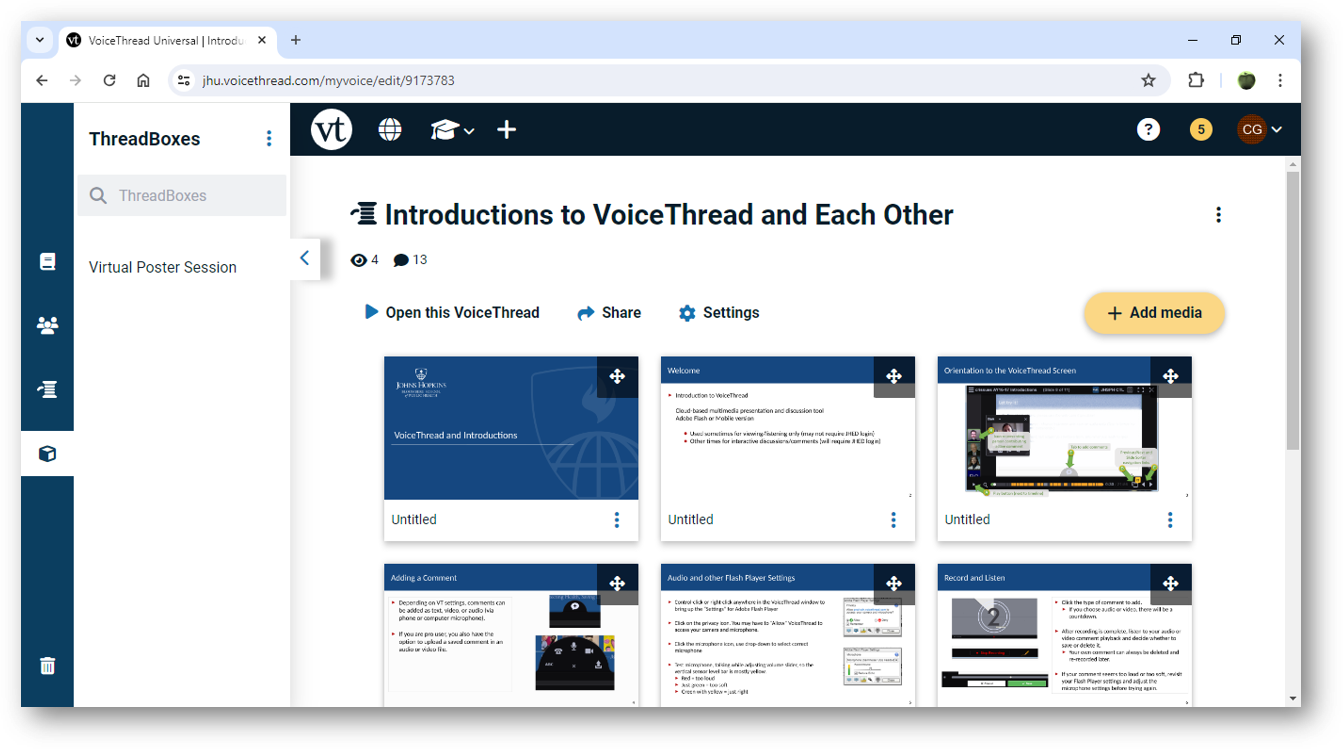
The new layout includes a single “add media” button being relocated to the top of your existing slides’ thumbnail images. Additionally, there is now a left navigation pane, matching the home screen.
CREATE/Edit a Legacy Presentation
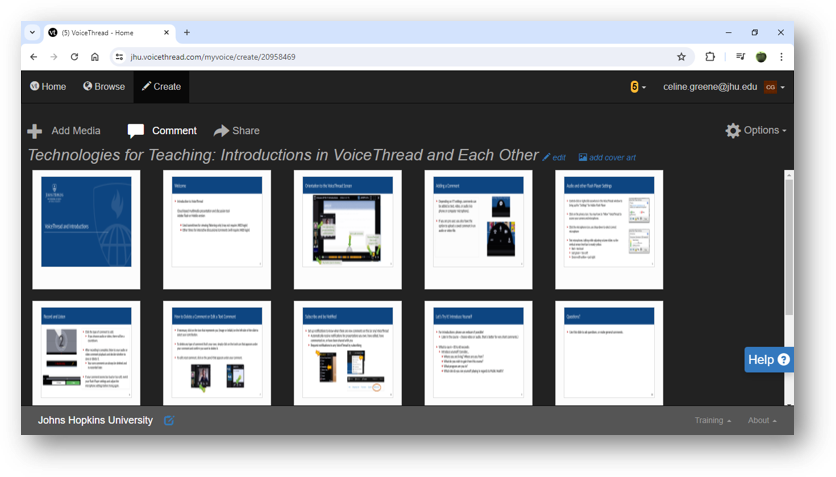
The legacy editing layout’s “comment” option was a bit misleading as it opened the presentation in the display view, whether or not a comment was going to be made.
Features that are new:
- The side navigation menus from the home (My Voice) page is visible
- The thumbnails are a sort of interactive bookmark: clicking on one opens the presentation at that slide
- Thread settings (playback, commenting, permissions) are now a main menu item
Features that are staying:
- Upload, download, edit, replace, or delete media of the same file types
- Customize the title, description, and custom cover image/art for the presentation
Discontinued Items
- The full-screen switch/button has been removed. You can still use your browser’s full-screen mode:
- VoiceThread Universal is being retired. The new browser interface is fully accessible.
Resources to Learn More
VoiceThread Support:
- The New VoiceThread
- Upcoming VoiceThread Workshops
- Archived VoiceThread Workshop Recordings (including the New VoiceThread introduction)
VoiceThread Blog:
- VoiceThread Roadmap 2024 (March 2024)
JHU Support:
- VoiceThread Overview (IT@JH University Information Systems)
- BSPH CTL Support (for BSPH faculty/students using VoiceThread)
Special Thanks to Celine Greene (BSPH Instructional Design Team) for compiling this information.