On April 15th, 2024, Zoom released Desktop Client version 6.0.0, which has now been rebranded as Zoom Workplace, in order to better align with Zoom’s extensive feature and product offerings. The new version(s) of the Zoom client contain both cosmetic and functional updates, which impact both the user and in-meeting interfaces.
Client Interface Changes
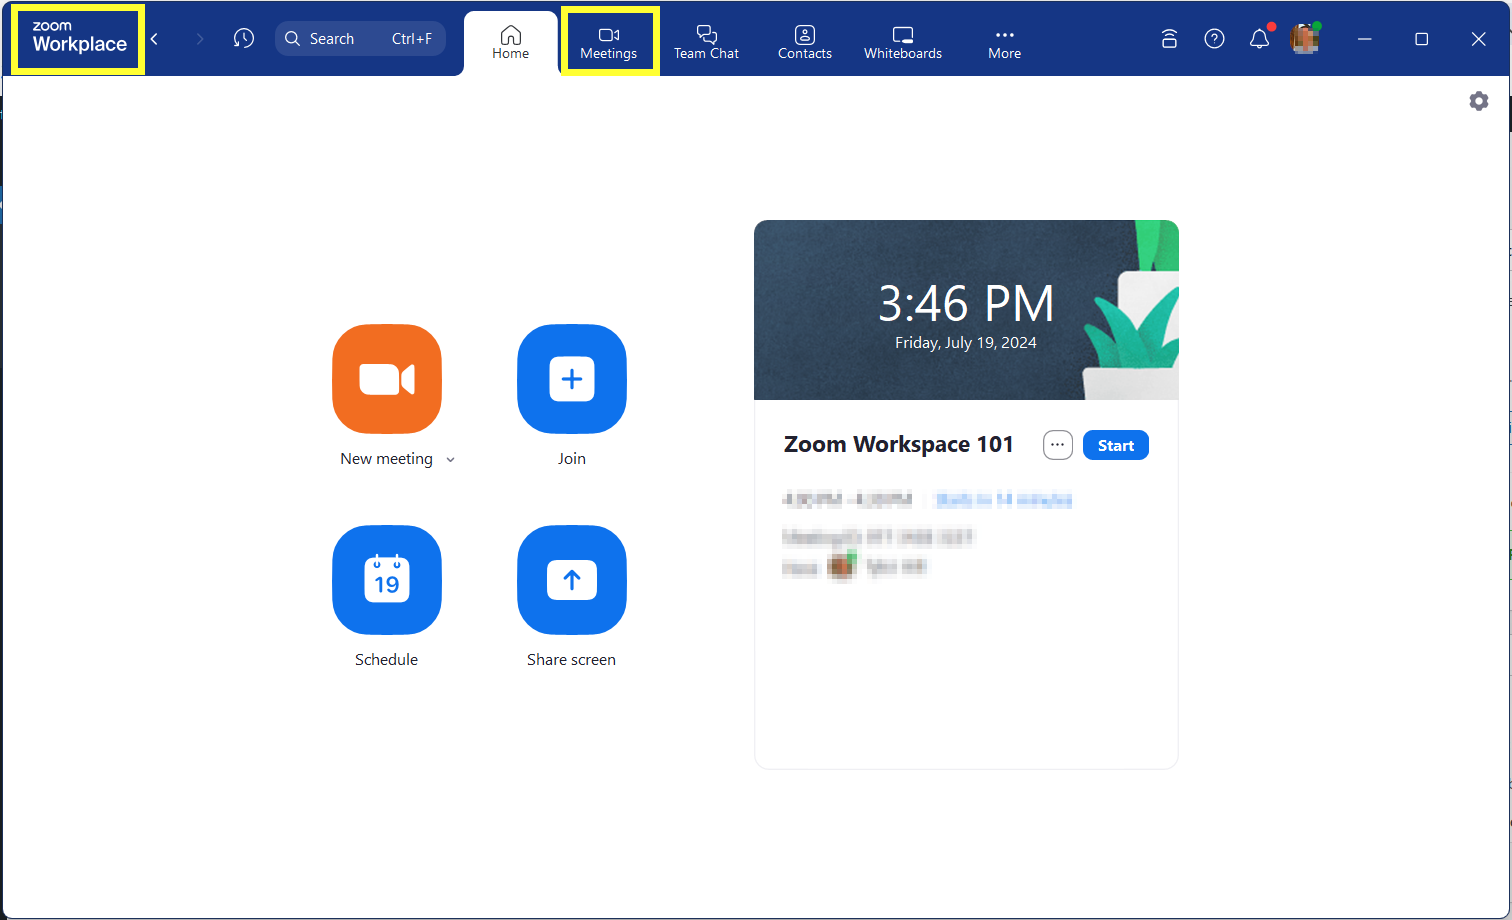
Along with the application being renamed to “Zoom Workplace”, users can also expect to see the following changes within their updated client:
- Customizable Navigation Toolbar: Drag and drop the product tabs to your preferred order within the desktop app for easy access to your most used Zoom features.
- Meetings and Calendar Tabs Merged: The Meetings and Calendar tabs have been combined to provide better calendar visibility and a more connected view between your meetings and calendar.
- New themes and color schemes: Users can choose from three new color themes (Bloom, Agave, or Rose) to give their desktop app and meeting experience a more personal look and feel. Zoom’s classic dark or light themes are still available.
In-Meeting Interface Changes
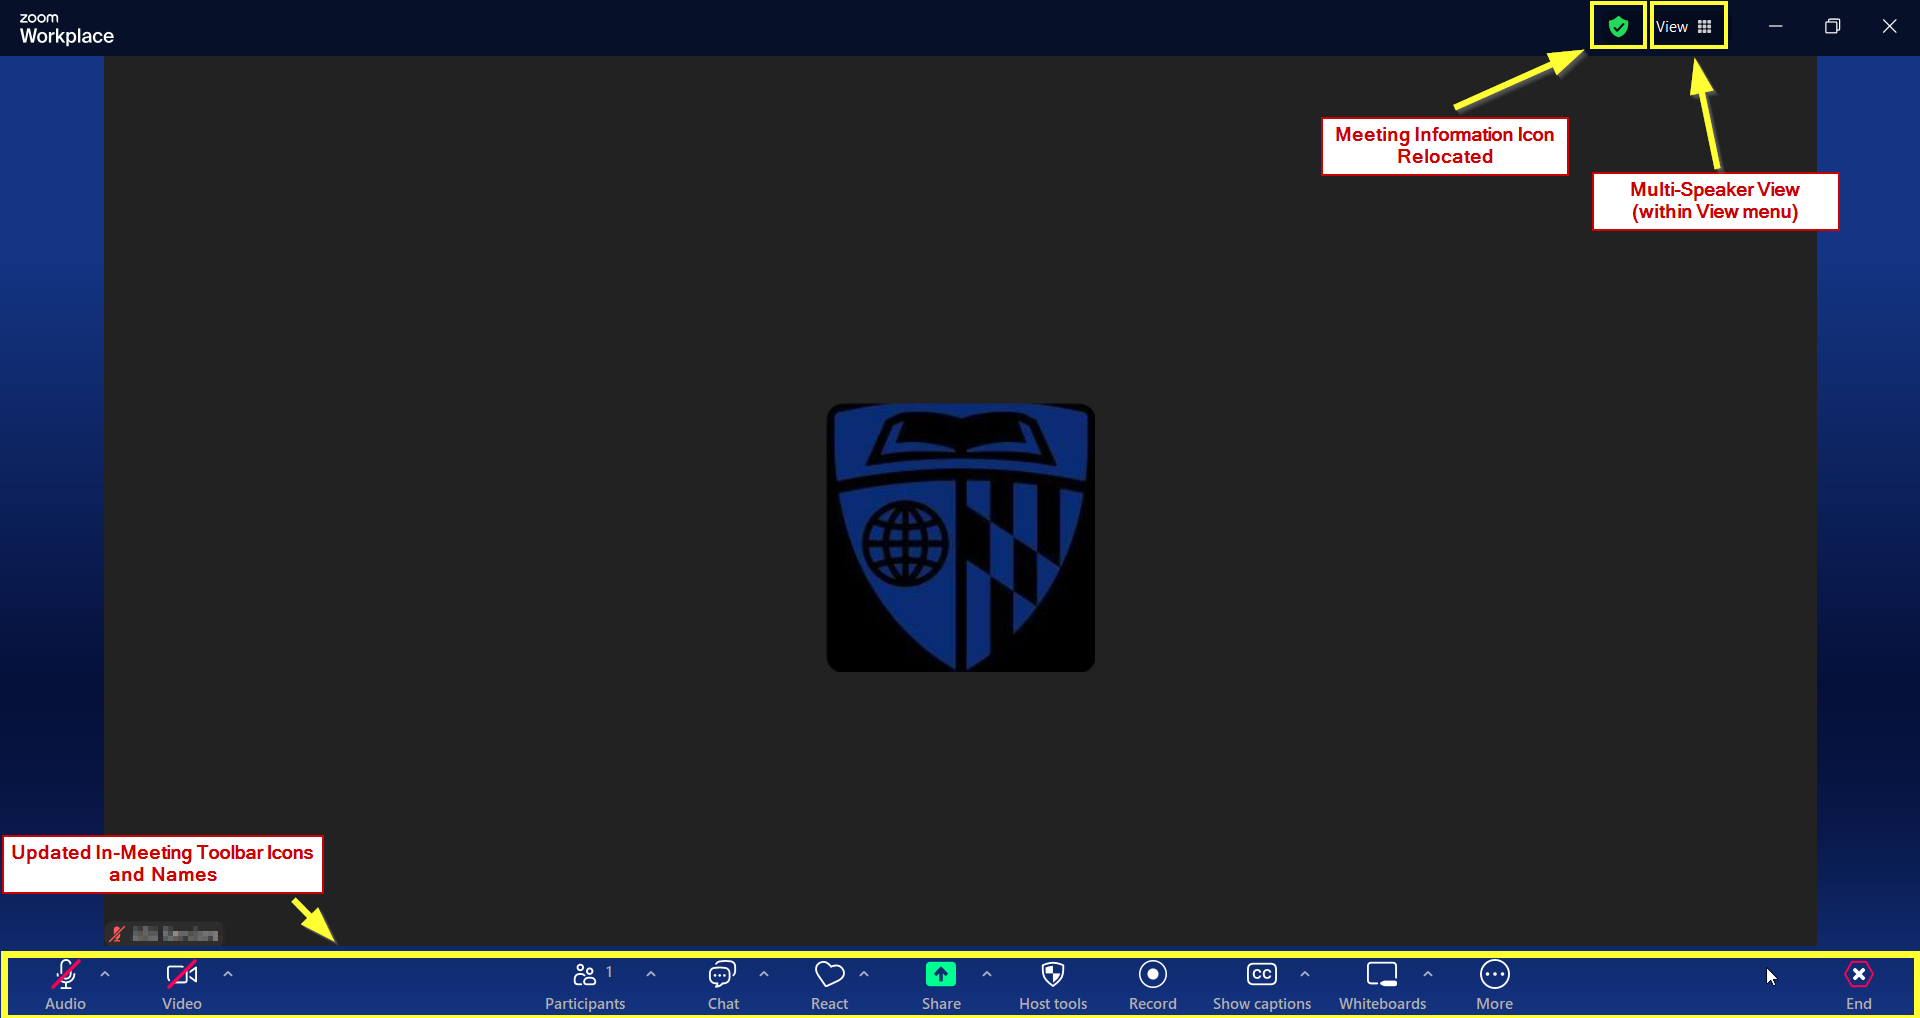
Users can expect to see various changes within the Zoom in-meeting interface, including:
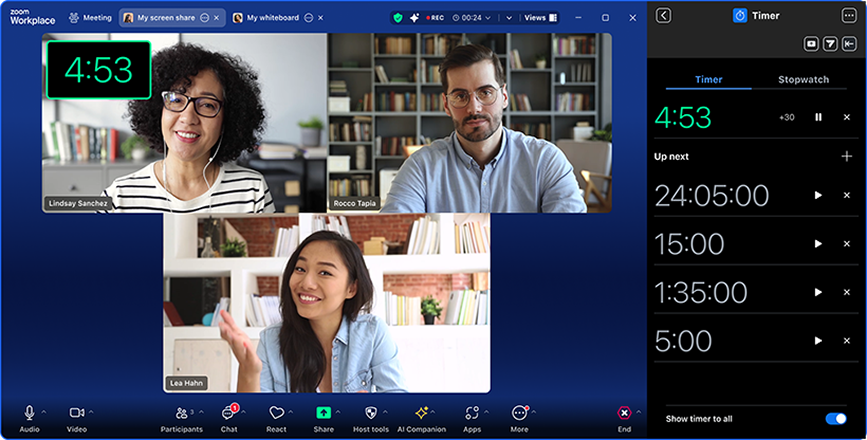
- Various Meeting Toolbar Items Renamed and Refreshed: The button icons on the meeting toolbar have been refreshed while some have also been renamed:
- “Share Screen” is now “Share”
- “Reactions” is now “React”
- “Security” is now “Host Tools”
- Customizable In-Meeting Toolbar: Similar to the customizable navigation toolbar within the application, users can drag and drop the in-meeting toolbar icons to their preferred order.
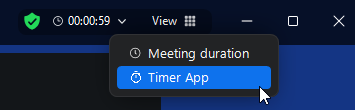
- Meeting Information Shield Relocated: The Meeting Information icon (green shield) has moved from the upper left corner to the upper right corner of the meeting interface, now next to the meeting View options.
- Multi-speaker View: Users can now enable a new multi-speaker view, which highlights active speakers in the meeting and automatically adapts the video layout to feature those participants. This feature can be found under the “View” menu in the top-right corner of the meeting window.
Updating your Client
Within the coming weeks, the Johns Hopkins Zoom team will be testing, packaging, and rolling out Zoom Workplace version 6.1.1 for users on managed machines. Additionally, the MyDesktop team will be rolling out Zoom Workplace version 6.0.10. Please stay tuned for additional information pertaining to this release.
If you are not on a managed machine, please refer to the Desktop Client Setup support guide for instructions on checking your client version and downloading the latest update.
Need Help?
For a comprehensive list of all of the updates included in the rollout of Zoom Workplace, refer to Zoom’s blog post on Zoom Workplace.
For other support needs, questions, and inquiries related to Zoom, please submit a help desk ticket.