The Excel file you want to upload to SIS should have the same column headings as those in the template. Here is an example with two DGA records to be uploaded. The file can contain additional columns and worksheets, but it must contain the columns shown below in order to successfully be uploaded. After saving the file, it can be uploaded.
Downloading the Excel Template

- In the Actions region, click Excel Upload.
- Click Browse…The Choose File dialog window appears.
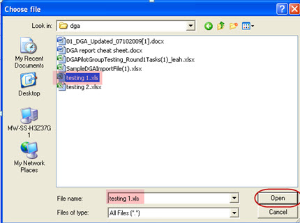
3. Select the Excel file that you wish to upload from your computer or shared drive and click Open.
4. Click Upload to begin the upload process.
The DGA Excel Upload results window appears. This window summarizes any issues with your Excel Upload and allows you to make immediate corrections to the data or export it to Excel for additional review and correction.
The DGA Excel Upload page contains three import sections:
Upload Summary – this region provides the location for the file that you are attempting to upload, as well as the number of valid and invalid records.
Invalid Hopkins IDs – this region lists any students where the name and Hopkins ID provided do not match the information in SIS. These records cannot be imported.
Import Listing – this region lists all records (including those that may require correction) that are eligible for import to SIS. The Import into SIS link will not become available until all records are valid in this region.
5. As you make updates or corrections, click the Update Corrections link to have the system evaluate the changes and confirm that the row is valid.
6. If you wish to remove all invalid rows, click the Remove Invalid Rows link. This removes the problem records and allows you to move forward with the import to SIS.
7. Click Import into SIS to import the records to SIS. All invalid data must be removed for the Import into SIS link to become available.
8. The All Records Successfully Imported message appears when the import has completed.