Desktop Client Calendar Integration

By default, the Zoom desktop client only shows Zoom meetings that you host. By integrating with your Outlook (Exchange) calendar, it will also display your other meetings, including a join button and host information if they are Zoom meetings.

Office 365/Microsoft Exchange Online Accounts

To set up the integration, start by following the steps in this article, selecting Office 365 as your calendar service: Calendar Integration for the Desktop Client. Then enter the below information.

  1. Select Authorize with OAuth 2.0
  2. OAuth 2.0

  3. Sign in using JHEDID@jh.edu.
  4. Click Accept for the Zoom permissions requested.
  5. Zoom permissions

  6. Once accepted, the calendar will be linked and you will need to sign out and back into the desktop client before your other meetings will appear.

Audio Options

Zoom meetings include VoIP and an integrated toll-based PSTN conference line which may negate the need for a separate conference line. The following describes ways to connect audio with a Zoom meeting:

Audio Type Audio Type Defined Fee Incurred
VoIP Join a Zoom meeting via computer-based audio. Requires an attached or built in microphone and speakers/headset.
  • Included in service for all users at no additional charge
Toll-Based Dial-In Join a Zoom meeting via teleconferencing/audio conferencing (using a traditional phone)
  • Included in service for all users at no additional charge
  • Users may incur long distance charges when dialing in
Toll-Free / Premium Audio Add-on Subscription for toll-free numbers, premium dial-in numbers for additional countries, call-out numbers, and dedicated dial-in numbers.

To learn more about Premium Audio, please visit Premium Audio Settings page.
  • Usage Based (per minute price varies by connection)
  • Host is responsible for usage fees
3rd Party Audio Uses a non-Zoom conference line for all meeting audio connections. When enabled, VOIP and audio connection types are disabled.
  • This audio type is not recommended as it limits the use of many Zoom features (i.e. VOIP disabled, Recordings won’t include audio)
  • Subject to any fees associated with the 3rd party conference line

Transitioning from Adobe Connect

Retirement of Adobe Connect

Johns Hopkins has retired Adobe Connect as of December 2, 2019.

Zoom has replaced Adobe Connect as a Johns Hopkins Enterprise-preferred tool. Find out more about Zoom through the Zoom support page.

You may have been redirected to this page from attempting to access content in Adobe Connect (connect.johnshopkins.edu). Contact your course/content provider to update their content.

Please direct any questions to zoom@jhu.edu.

Where is it in Zoom?

Welcome to “Where is it in Zoom?”, a resource for faculty and staff making the transition from Adobe Connect to Zoom Meeting. As you get started with Zoom, there will be times when you can’t find a specific tool or feature because it has a different name or location than in Adobe Connect. This gives you a list of some commonly used high-level features, how they compare between the two products (how to access these features), and links to available documentation.

Task/Feature In Adobe Connect In Zoom Zoom Resources
Joining a Meeting
Joining a Meeting via Computer Click the meeting link or copy/paste the link to join from a web browser.

Install the Adobe Connect Add-in for screen sharing.

Click the meeting link or copy/paste the link to join from a web browser.

Install the Zoom application to join from the Zoom client on the desktop.

How do I join a meeting?

[Faculty & Staff] Zoom’s Desktop Application

[Students] Zoom’s Desktop Application

Joining a Meeting via Mobile Device Use the Connect app. Use the Zoom mobile app. Getting started with Android

Getting started with iOS

Zoom’s Mobile Application

Joining a Meeting via Videoconferencing Room Adobe Connect will not connect directly to videoconferencing equipment. Dial the IP address (found in the meeting invitation or on your Cloud Room Connector page) from the H.323 or SIP device to reach the splash screen. Connect to Zoom via Videoconferencing Room
Scheduling Meetings & Inviting Participants
Creating & Scheduling a New Meeting Schedule a meeting on the Adobe Connect website. Schedule a one-time or recurring meeting on the Zoom website, through the desktop client, or in the mobile app. Get started with Zoom

How do I schedule meetings?

Zoom’s Outlook Plug-In

Inviting Participants Send email with a link to the meeting room, or invite participants through Adobe Connect. Send email or IM with a link to the meeting room, or invite participants from a live Zoom meeting. How do I invite others to join a meeting?
Adding a Telephone Connection Create a universal voice audio profile, apply the audio profile to your Adobe Connect meeting, and start universal voice in your Connect meeting. Call into a Zoom meeting using the dial-in information in the meeting invitation. How do I join a meeting?
Hosting a Meeting or Webinar
Setting Up Audio & Video Use the Audio Setup Wizard. Use the meeting controls in the rollover menu at the bottom of the Zoom window. How do I test my video?

How do I test my computer audio?

Sharing a Document or File in a Meeting Use the File Pod. Use in-meeting file transfer. In-Meeting File Transfer
Breaking Up Participants into Groups Use breakout rooms from the Attendees Pod to split meeting participants into separate sessions. Use breakout rooms to split meeting participants into separate sessions. Getting Started with Video Breakout Rooms

Managing Video Breakout Rooms

Polling Use the Poll Pod to create questions or polls for participants and to view the results. Activate polling in your meeting settings. You can create polls in advance or during a live meeting. Polling for Meetings
Sharing a Presentation or Desktop Upload a presentation or share a specific window or your desktop. Share a presentation, a specific window, or your desktop. How do I share my screen?
Managing Attendees Use the Attendees Pod. Manage up to 300 attendees in a meeting from the rollover menu at the bottom of the Zoom window. What Are the Host Controls?
Recording & Storing Meetings Record a meeting to the Adobe Connect server. Record a meeting to your desktop or cloud, and then upload it. Create and store recordings of Zoom meetings

How do I find my recording?

Local Recording

Meeting Features
Whiteboard Share a whiteboard from a Share Pod. Share a whiteboard from the “Share Screen”. How Do I Use Whiteboard?
Annotation Collaboratively annotate during screen sharing with permission from the meeting host. Collaboratively annotate during screen sharing, the meeting host can disable this feature. How do I share my screen?
Chat Use the Chat pod to communicate with other attendees while a meeting is in progress. Use the Chat feature to communicate with other attendees while a meeting is in progress. In-Meeting Chat
Posting & Taking Notes Use the Notes pod to share notes with participants. Use a shared drive for designated participants to view, comment, or edit. Store, share & collaborate on documents
Sharing a Link Post a link in the Web Links pod. Post a link in the Zoom in-meeting chat. In-Meeting Chat
Setting Up Room Layouts Set up room layout templates for different activities or meeting types. Set up your desktop layout and share your desktop; you can position Zoom windows as necessary on the desktop using a meeting setting. Use Screen Layouts with Zoom

The above chart was inspired by that created from Indiana University: https://kb.iu.edu/d/aoei.

Zoom Web Client for Students

Logging in to Zoom

To log in to Zoom in a browser, go to https://jhubluejays.zoom.us/ and click Sign In.

Zoom student sign in page

You will be directed to the enterprise authentication page. Enter your JHED credentials to finish signing in.

Enterprise authentication page

After logging in, you will be directed to your Zoom profile page.

Zoom Settings and Profile

For a comprehensive overview of the web client and all of the settings available for configuration, please visit Zoom’s support pages for changing account settings and customizing your profile.

Zoom FAQ for Students

Zoom provides an excellent FAQ. For more Johns Hopkins-specific questions, see below:

Account Management

Q: How do I get a Zoom Account?
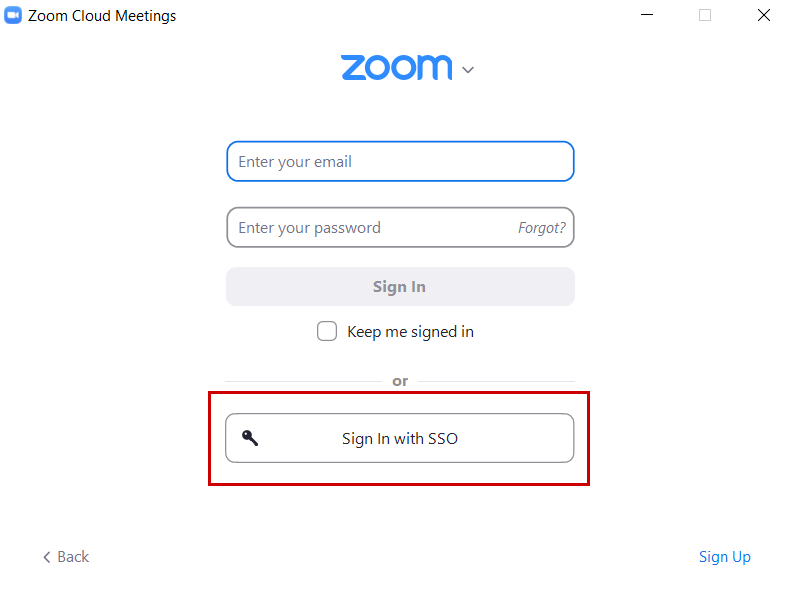
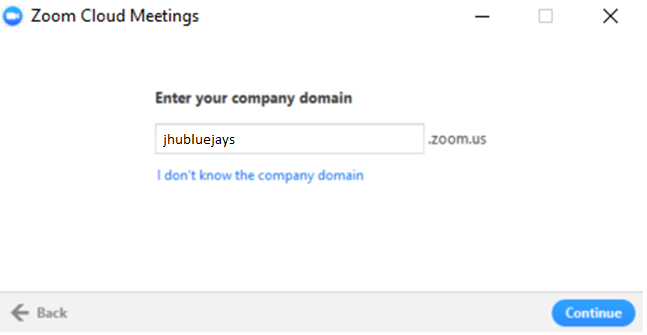
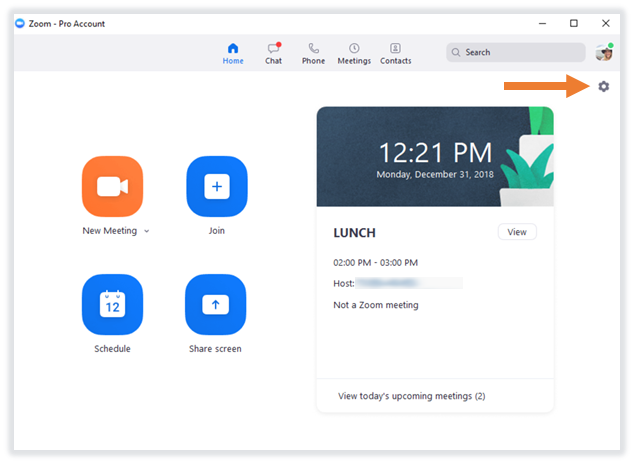
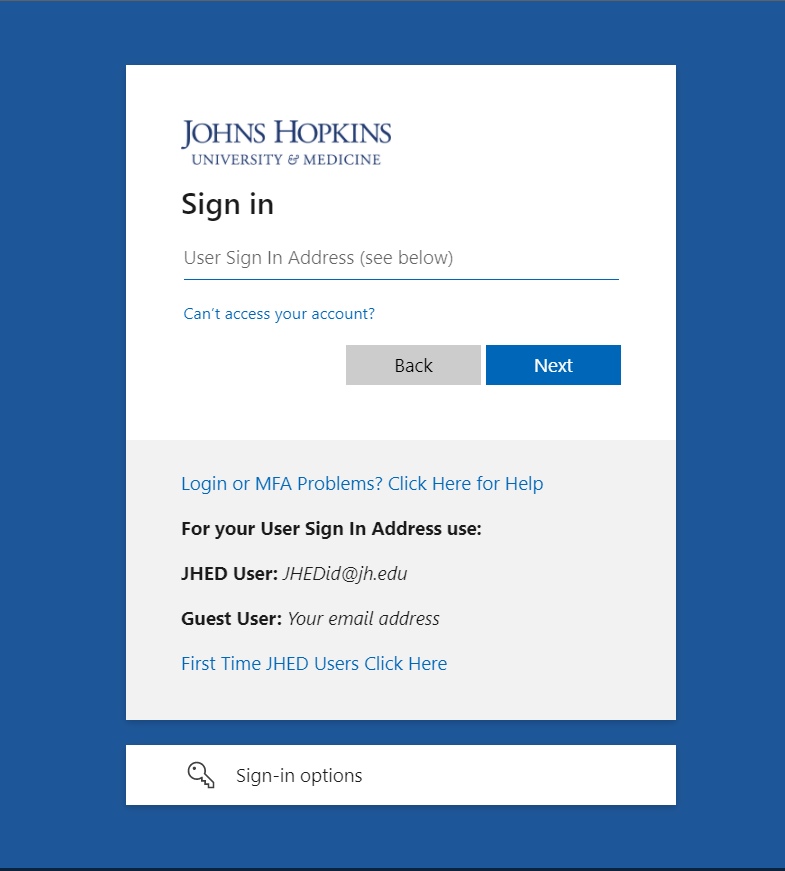
A: Students will automatically obtain a licensed Zoom account free of charge when they log in for the first time. To access your account, go to https://jhubluejays.zoom.us/ and log in with your JHED credentials. When logging in to the desktop client, please select “Login with SSO” and enter the domain as “jhubluejays”. You can learn more about Zoom viewing the user guides and short video tutorials on Zoom’s support page.

Q: When will we have to switch to Zoom? What’s the timeline?
A: Adobe Connect has been retired as of December 2, 2019. See Transitioning from Adobe Connect for more information.

Q: I have graduated from Johns Hopkins and I am no longer a student. Do I still have access to my Zoom account?
A: Once you have graduated from the University and your JHED ID no longer has a Student affiliation, your Zoom account becomes inactive.

  • If you are currently a faculty or staff member at Johns Hopkins and are no longer a student, please review the Faculty and Staff Zoom Support by School/Division page for the appropriate contact/support email to request a faculty/staff account.
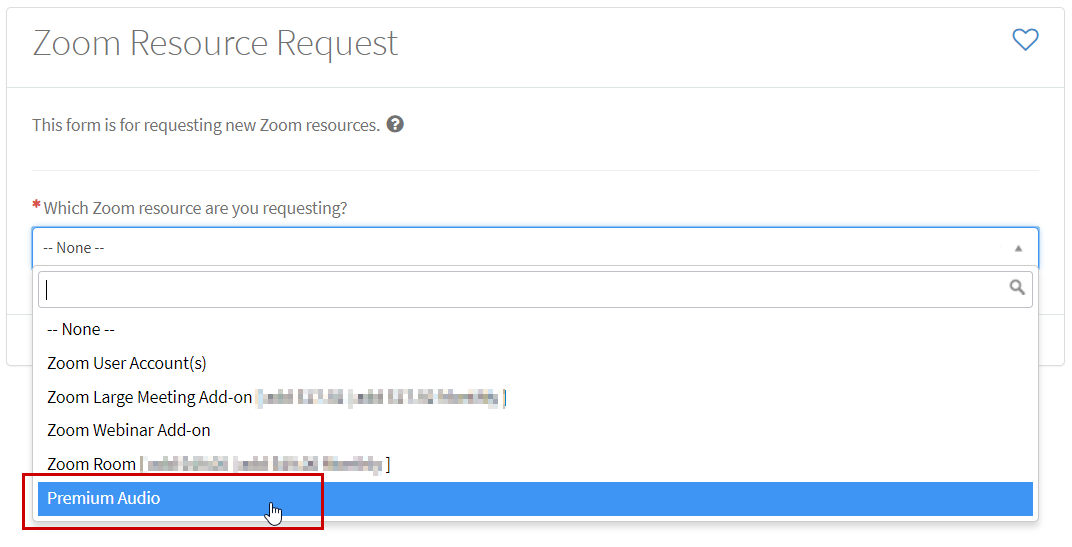
  • If you are not affiliated with one of the Schools or Divisions above, please visit the IT Services Catalog and complete the Zoom Resource Request form to create an account.

Cloud Recording

Q: I have lost my Cloud Recording access. Who do I contact?
A: Please refer to the Requesting Access section of the Guide to Cloud Recording for Students for the appropriate divisional contact to request access. In your request, you should include your name, role within the division, and reason for needing Cloud Recording access. A staff member within the division will then contact you.

Q: I am a TA. Do I automatically have access to Cloud Recording?
A: No, not all TAs are granted Cloud Recording access. Please refer to the Requesting Access section of the Guide to Cloud Recording for Students for the appropriate divisional contact to request access.

Desktop Client

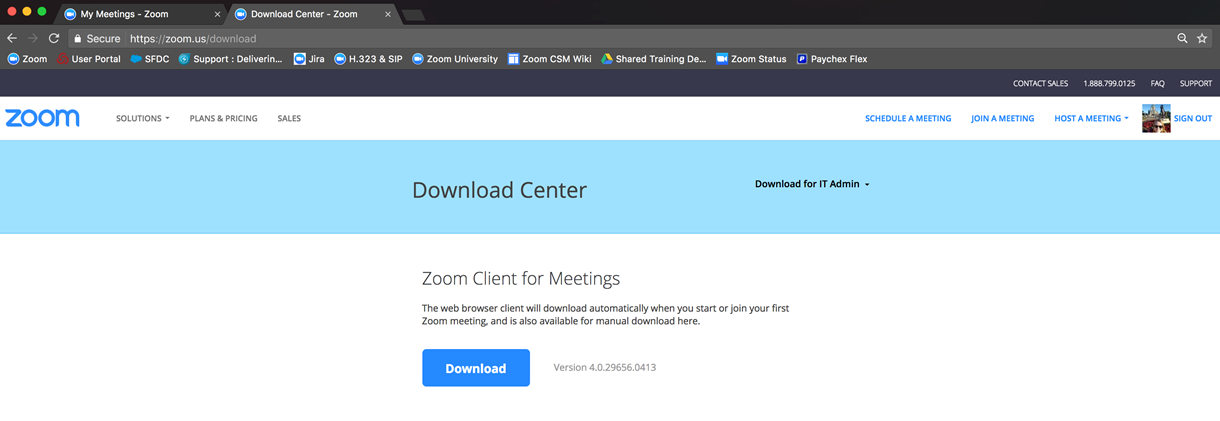
Q: How do I install the desktop client?
A: See our desktop client setup guide.

Q: Where can I find Johns Hopkins virtual backgrounds?
A: You can find Johns Hopkins virtual backgrounds on the JHU Facebook page.

Hosting

Q: Does enabling Join Before Host allow meeting participants to start without the host actually being present?
A: Meeting participants will be able to talk, but the host is required for many meeting controls, such as screen-sharing and recording. See Join Before Host for more details.

While there are no limitations on how a user can schedule meetings, their back-to-back and concurrent meetings can be disrupted prematurely if they are configured to allow Join Before Host, as the first participant to join the meeting can start the meeting, which would end the existing meeting.

Q: What is an Alternative Host?
A: You can designate another licensed Zoom user as an Alternative Host for your meeting. This will allow the other user to start and host the meeting in your stead.

Q: What is the Scheduling Privilege?
A: You can assign another licensed Zoom user the Scheduling Privilege. This will allow the other user to schedule meetings on your behalf.

Joining a Meeting

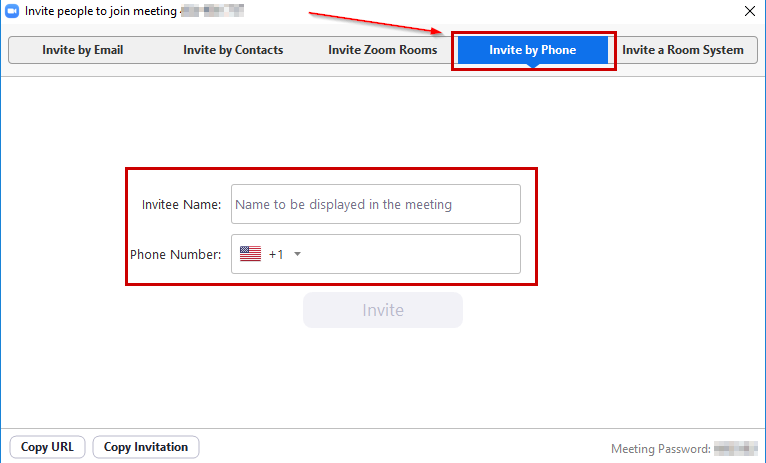
Q: Do users joining a meeting need to download the Zoom client?
A: While we recommend using the desktop client for the best in-meeting experience, it is not required to join a meeting as you can join directly from a browser. Optionally, meeting hosts can choose to make it easier for participants to join from your browser by enabling “Join from your browser” option on their meeting settings.

Q: Are there any recommended best practices when hosting a meeting?
A: See below for before and during meeting best practices.

Before the Meeting:

  • Test your Audio and Video
  • Have the content you intend to share prepared ahead of time
  • Close applications that have pop ups

During the Meeting:

  • Mute your microphone if others are presenting/speaking
  • Use Gallery View for group/team meetings
  • Share your screen
  • Share specific applications to control displayed content
  • Use “New Share” to seamlessly transition between shared applications
  • Use the Annotation feature to grab and direct attention

When using your Camera:

  • Position your webcam at eye level or higher – experiment for best angles
  • Use the gestures and mannerisms that you would typically use in person
  • Make eye contact – try to look at your webcam as often as possible

Meetings

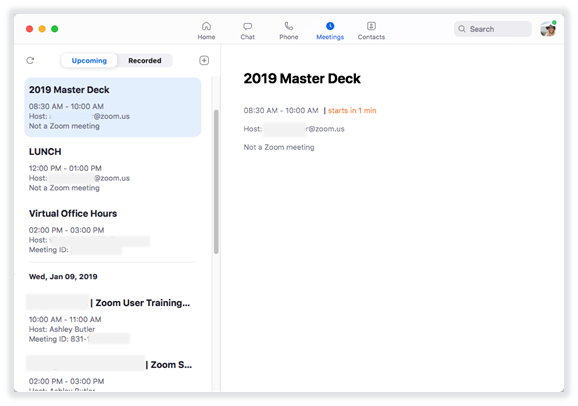
Q: Do I need a Zoom account to join a meeting?
A: No, you are not required to sign in to join the meeting. You may see a message if you try to sign in to Zoom before joining the meeting. When your Zoom client opens, if you’re not connected to the meeting immediately, please select the join meeting option and paste in the meeting ID (the last 9-10 numbers in the meeting URL).

Meeting Settings & Controls

Q: If an instructors shares a PowerPoint slide show (which would be full screen), is the zoom toolbar still accessible or would the instructor have to exit out of the slideshow to access the toolbar?
A: The toolbar is always accessible but if you don’t set it to always show control bar, it will disappear/hide and you will need to locate again.

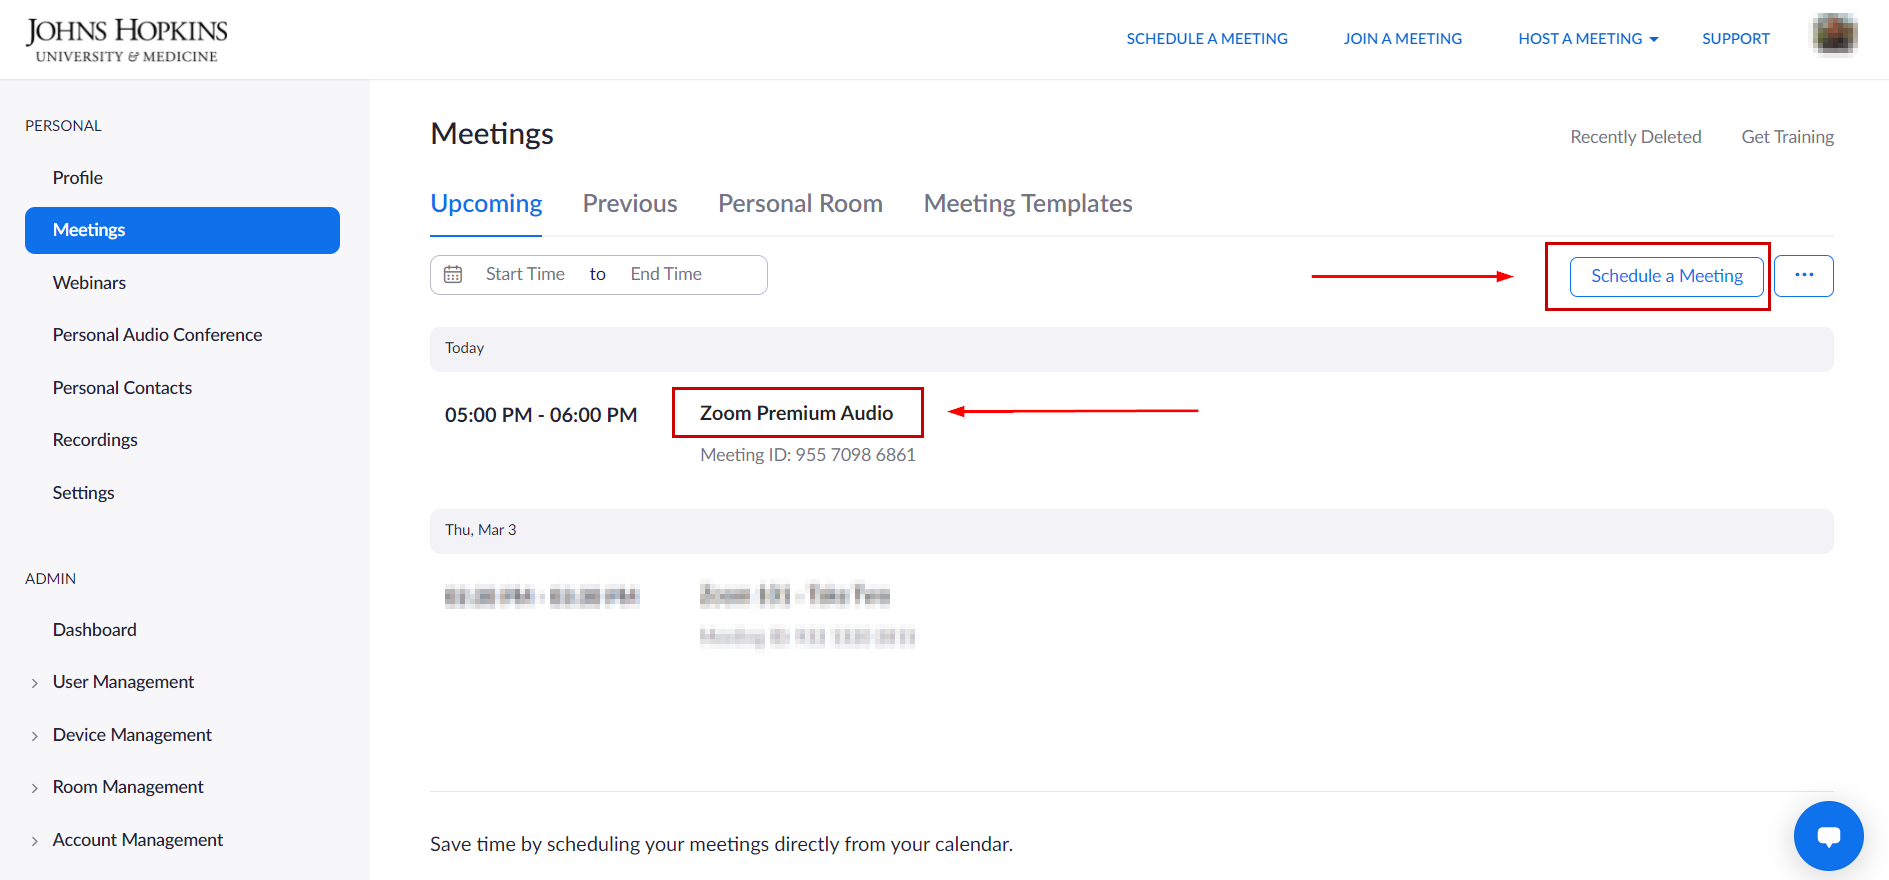
Q: When I schedule a meeting it makes an arbitrary meeting name. How do I get it to reflect my customized link?
A: The customized meeting link only applies to your personal meeting room (or PMI). Here’s an article that provides a better explanation of this. If you want to schedule a meeting that uses your PMI, then you can use the personalized meeting link.  You may want to review the previous link and also this link for other options when scheduling a meeting.

Recording

Q: Can I record to the cloud?
A: No, but you can record locally.

Q: Can a meeting be recorded without the host?
A: By default, only the host can initiate a Local Recording. If another participant would like to record, the host will need to provide permission to that participant during the meeting. The host will need to join the meeting to give the other participant recording permission, or set the participant up as an alternative host. If the host can record to the cloud, then they can also Enable automatic Cloud Recording for the meeting. For more information, see Recording without the Host.

Q: How do I change what I see in a recording?
A: You can record the meeting in different layouts including active speaker, gallery view, and shared screen.

Training

Q: Will there be training and tutorials?
A: Check out our Zoom Help Page for training and tutorials. If you don’t see what you’re looking for, please check out Zoom’s help site.

Zoom Desktop Client Setup for Students

Downloading the Zoom Desktop Client

Go to Zoom’s Download Center to download the Zoom Client for Meetings.


Zoom Download Center

Logging in to the Zoom Desktop Client

Click Sign In, then click Sign In with SSO.

Sign in with SSO, desktop client

Enter “jhubluejays” for the company domain.


JHUBlueJays entered for the company domain screen.

You will be directed to the enterprise authentication page. Enter your JHED credentials to finish signing in.

Enterprise authentication page

Upon successful authentication, the Zoom client will load the Home screen.

Desktop client home page after signing in

Accessing Zoom Meetings

Click on the Meetings tab to view your upcoming meetings and your previously recorded meetings.

Location of Meetings tab in banner


Meetings tab

General Settings

Click on the gear icon in the top-right corner to change your settings.

Location of gear icon

For more information and an overview of all the settings available within the desktop client, please refer to Zoom’s documentation for changing settings in the desktop client.

Zoom for Students

Still need help?

  • If you require technical assistance, all JH Zoom account holders have access to Zoom’s 24×7 Help Center, including their Chat Bot.
  • Licensed users can fill out a Web Ticket describing the question or issue in detail for a Zoom technical expert.
  • For information on incidents and outages, please see the Zoom Service Status page.
  • For any other questions or concerns, please contact zoom@jhu.edu.

Zoom Web Client

Logging in to Zoom

To log in to Zoom in a browser, go to https://jh.zoom.us/ and click Sign In.

Zoom sign in page
You will be directed to the enterprise authentication page. Enter your JHED credentials to finish signing in.

enterprise authentication page

After logging in, you will be directed to your Zoom profile page.

Zoom Settings and Profile

For a comprehensive overview of the web client and all of the settings available for configuration, please visit Zoom’s support pages for changing account settings and customizing your profile.

Zoom Mobile Application

Download the Zoom Mobile App

You can find links to download the mobile app here.

More documentation on Zoom’s mobile apps can be found in Zoom’s help center.

Sign in using SSO

  1. Click the Sign In button
  2. Under “Sign In With”, choose SSO

    Sign In screen
  3. Under “Enter your company domain”, enter jh (the suffix is always .zoom.us) and click Go

    Sign In with SSO screen
  4. You should be redirected to the Johns Hopkins Enterprise Authentication screen, where you can log in with your JHED ID and password
    Johns Hopkins authentication from Zoom mobile app
  5. When prompted to Open This Page in Zoom, click on Open

    Screenshot of an alert asking whether to open this page in Zoom

You should now be signed in to the Zoom mobile app.

Zoom Mobile Features & Settings

For more details on which settings you can change within the mobile app, see this article.

The mobile app also includes a Safe Driving Mode feature.


Safe Driving Mode screen and Meeting Settings screen

Zoom Plugin for Microsoft Outlook

The Zoom Microsoft Outlook plugin is designed to make scheduling a meeting in Microsoft Outlook quick and convenient. The plugin allows you to schedule and start instant Zoom meetings, as well as make existing meeting events Zoom meetings. Users with the scheduling privilege for another Zoom will also have the ability to schedule those meetings through the plugin.

Note: A side-by-side comparison of the Zoom Outlook Plugin and Zoom Outlook Add-in can be found on the following support page.

Download the Outlook Plugin

Download the Zoom Plugin for Microsoft Outlook

Note: you must have the Zoom desktop client installed. See here for more information.


Zoom's Download Center

Scheduling a Zoom Meeting with Outlook

Open a new meeting:


Creating a new Outlook meeting. There is a Schedule a Meeting button in the Zoom section of the banner

Configure the meeting settings:


Zoom settings for the meeting

Update the appointment:


The Outlook meeting now has a Zoom meeting link for the Location and additional Zoom meeting details in the body.